
.JPG)
The space was looking kind of sad and empty without anything to balance out our display cabinet on the right. So I thought, you know what we need? Another place to store and display liquor because more than anything we need that liquor right at our fingertips should we want it. Lord knows you don't want to be fumbling around looking for booze when it can be right in front of your face at all times.
There was a small metal table in the basement that the previous owner had left us and it wasn't really being used.
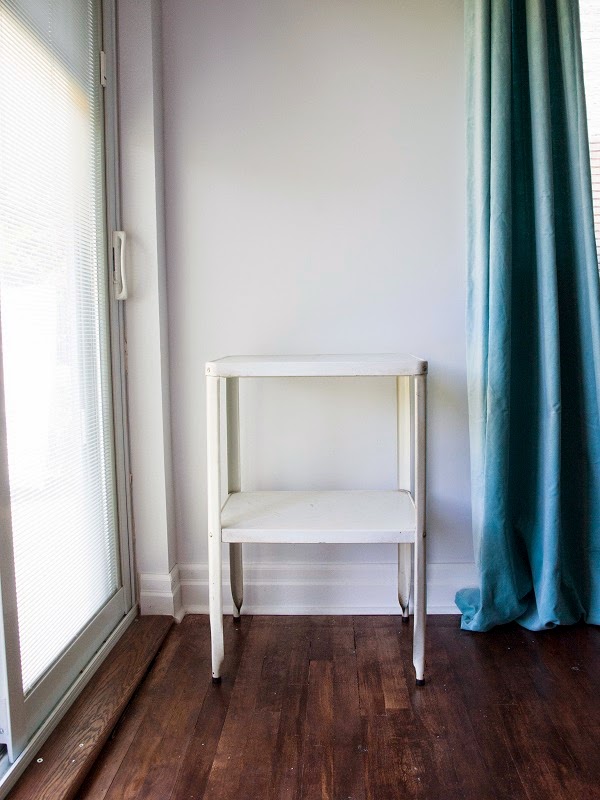
It had a shape that was almost identical to the Ikea display cabinet. Good job Ikea, by the way, on creating something that actually looks vintage. No one ever guesses it's new. While I liked the shape of the vintage table the colour was kind of blah.

See? So sad! It didn't even match it's knock off brother "Fabrikor". I thought about spray painting it with a Rustoleum metal paint but the colour options (at least at the Home Depot near me) were also kind of sad. Instead, I picked a high quality paint and primer in one, sanded the table, crossed my fingers and then gave it a go with two coats of paint. It worked! So far the paint is sticking and nothing has peeled or chipped off.
This is the part where I show the 'after' and leave out the part where I was so confident in my colour matching skills that I thought I could match the colour to the other cabinet without bringing paint samples home. Okay, so my tip is - if you're trying to match something, be sure to bring the paint chips home to check. Maybe you're smart enough to do that already so let's just show you the second 'after' (4 coats of paint later):


There it is in all it's glory! That little corner is so much better now. The dining room feels cohesive and I have a place to display all my vintage barware (including the vintage decanter with my initial on it!). I thought I'd show you step-by-step how I styled the bar cart as styling seems to be the final and important step that people always skip when decorating their own homes.
A few of my favourite must have styling items are all here: artwork, flowers, bowls, boxes (or books) and trays. You can use these items in almost any room- on a tabletop, a sideboard, a coffee table, an entryway table, a bedside table, even a kitchen or bathroom to help make an area look finished. Artwork and flowers are obvious choices but try them in unexpected ways. I hung the art much lower to tie into the vignette below and used a small bronze vessel instead of a larger vase to display a few flowers. Trays are a great way to corral items together - I swear it instantly makes everything look intentional. By using boxes or books to add height you vary the landscape of the items adding interested and inviting the eye to move around.
Here is my step-by-step assembly of the bar cart:


- Artwork by Lindsay Jones
- Frame from Ikea
- Decanter and Glasses (no longer available from Chapters/Indigo) similar
- Teal Tray from West Elm
- Kate Spade Straws from Chapters/Indigo
- Box from Ikea
- Bowl from Ikea
- White Metal Tray from Target
- Curtains from Ikea
- Final paint colour for bar cart Behr 'Famer's Market'
Now let's just relish in the beauty of a fully stocked bar cart that cost me nothing more than two gallons of paint - feel free to stop by for drink.


No Response to "Making a Bar Cart"
Post a Comment